
This article was originally going to be about camera mapping, but then I realised that this should probably be covered beforehand – consider it a prequel. This will cover the use of the ‘Split’ polygon tool, and how it can be used to obtain the orientation of a polygon.
“Where does this come in handy?”
It can be used for projecting textures, animated or static, onto a surface, placing objects onto a single polygon’s surface without the need for constraint tags, and much more (this could get unnecessarily long-winded, and I’m sure you get the idea).
If all of that sounded like gobbledy-goop, have a look through the guide below; it should hopefully make a bit more sense.
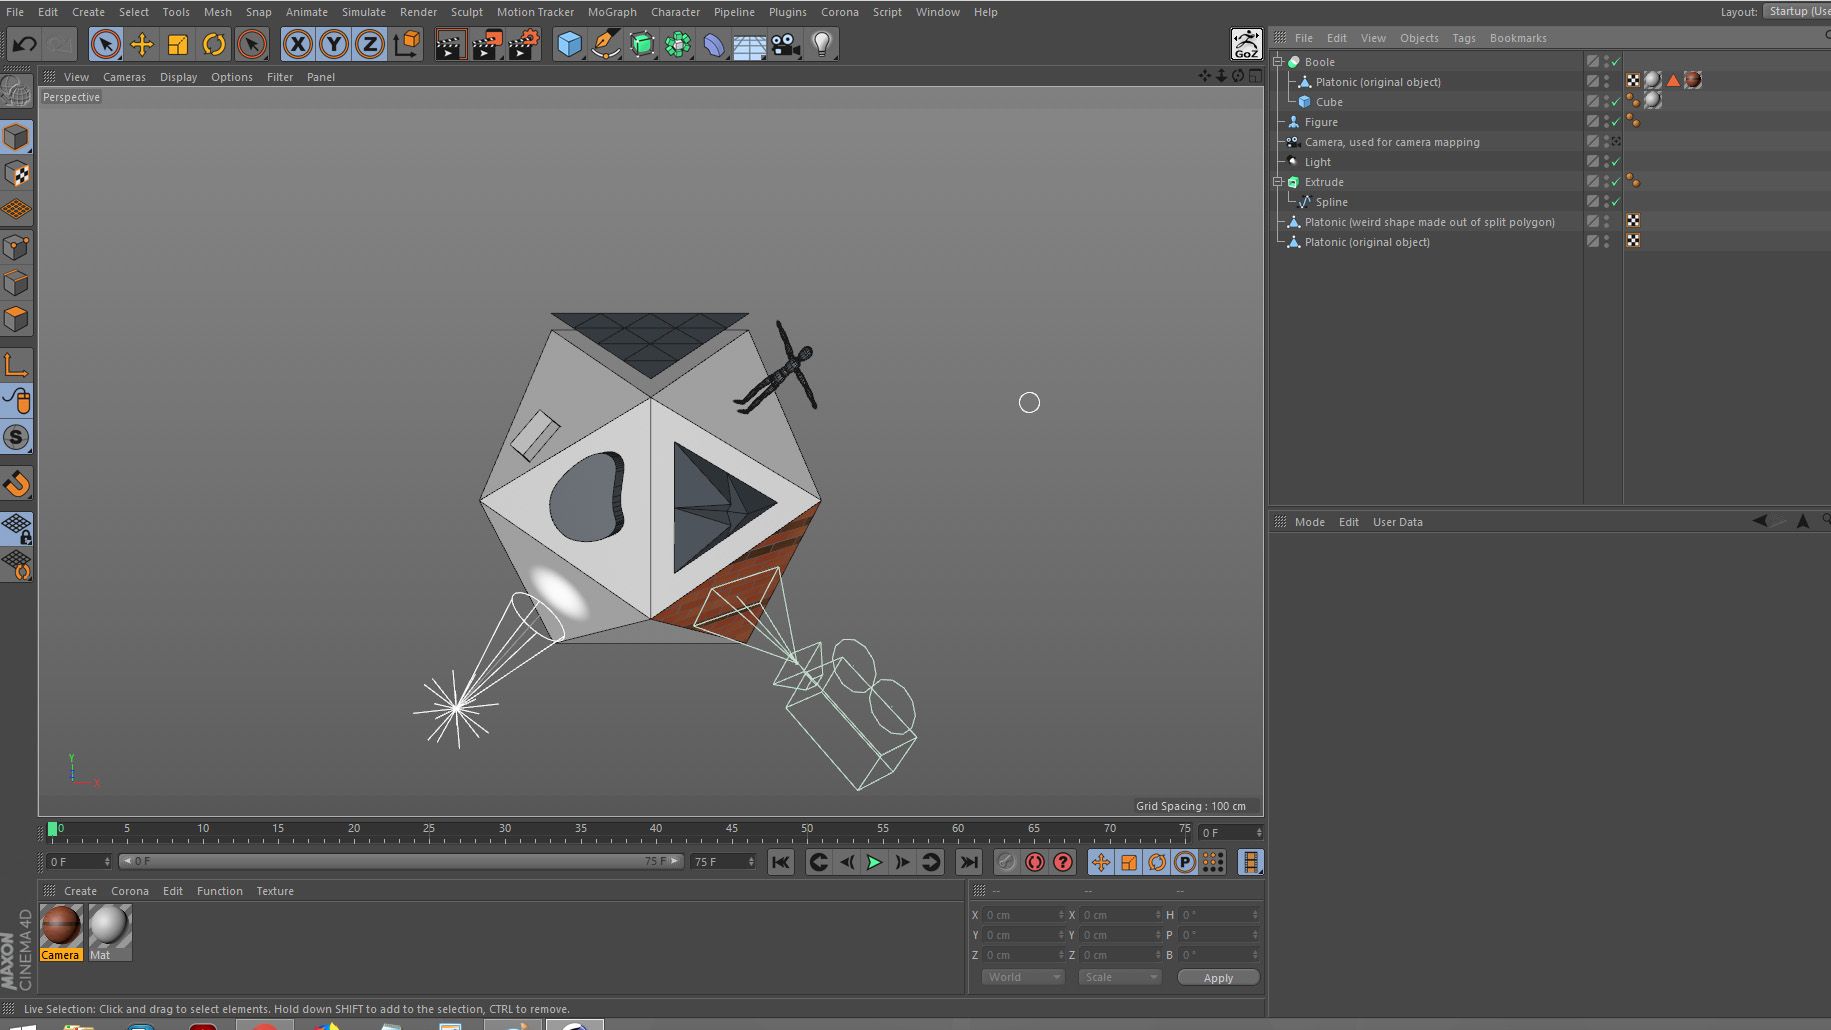
In this guide, I’ll be using a Platonic object which has been made editable, primarily because it has polygons facing in various directions.
Step #1:
– Create a 3D object, and make it editable – in my case, a platonic.

Step #2:
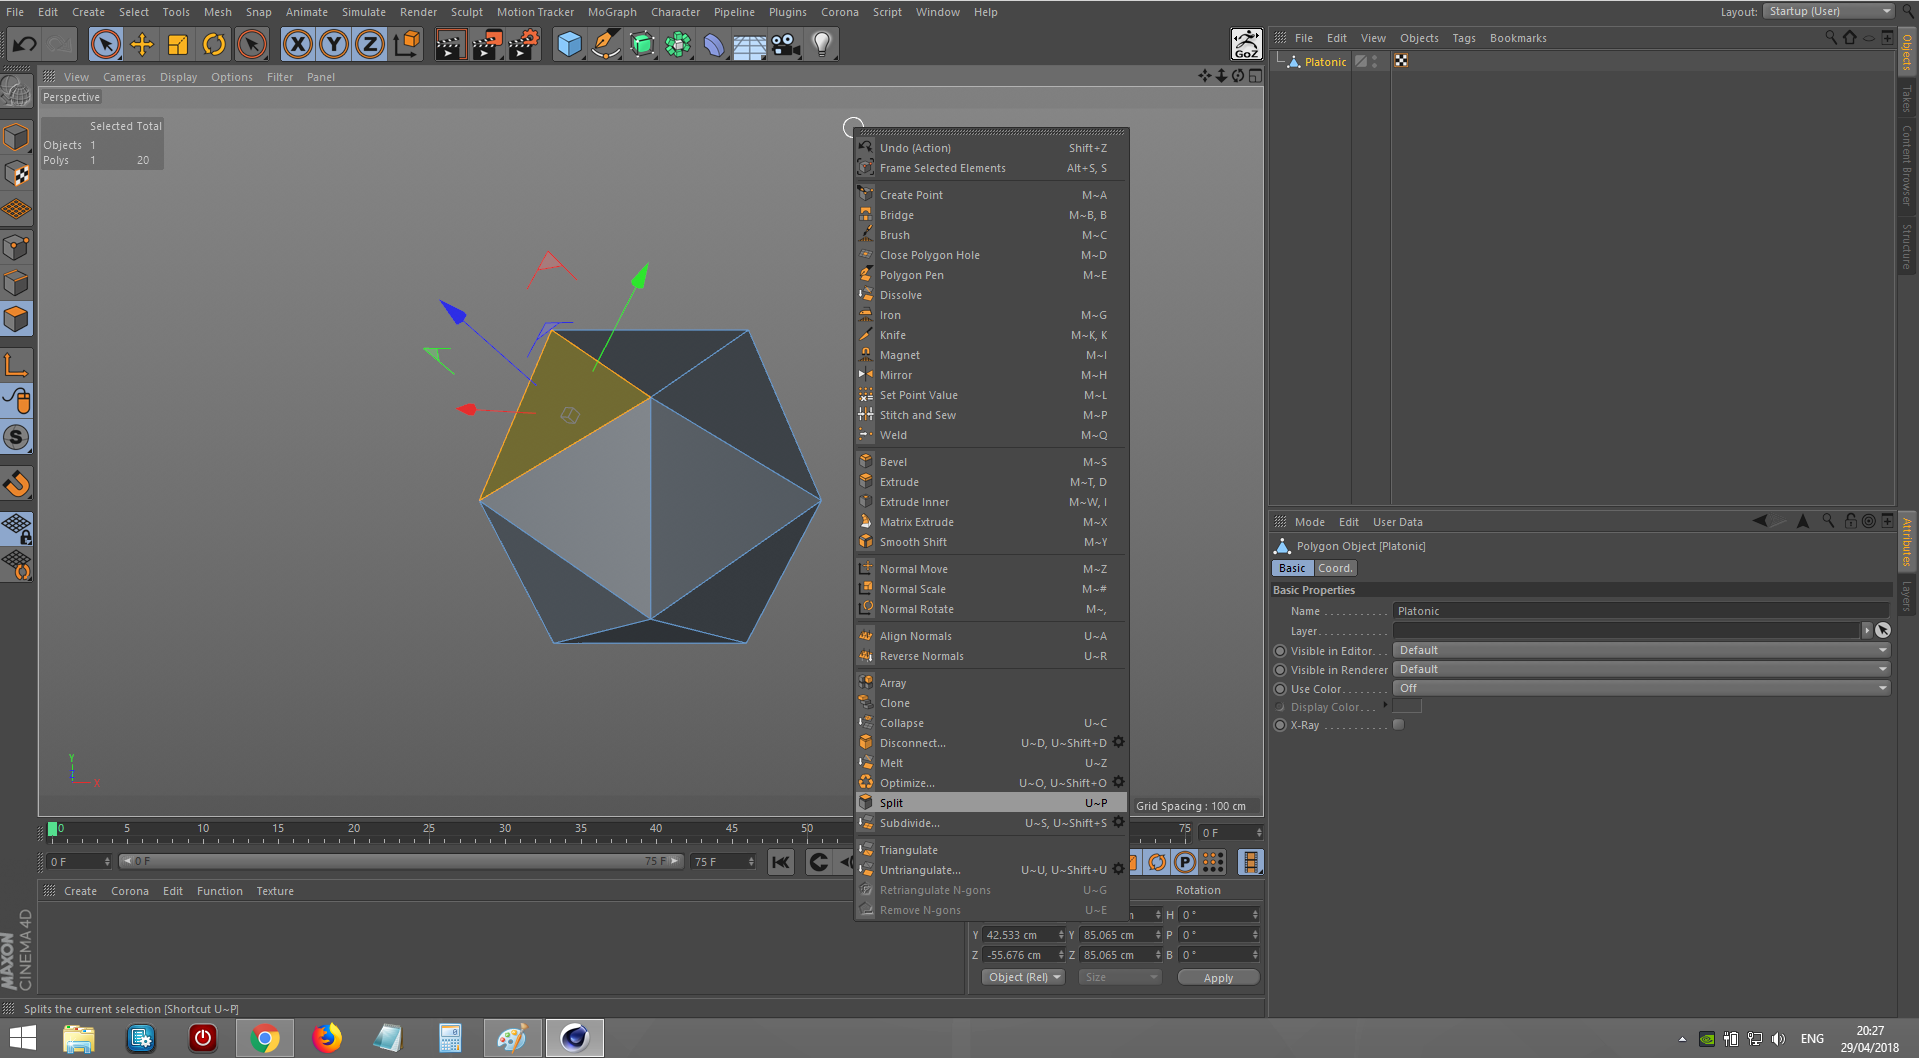
– Select the polygon you want the orientation of, right-click, and select ‘Split’ (or use the shortcut U~P)
Step #3:
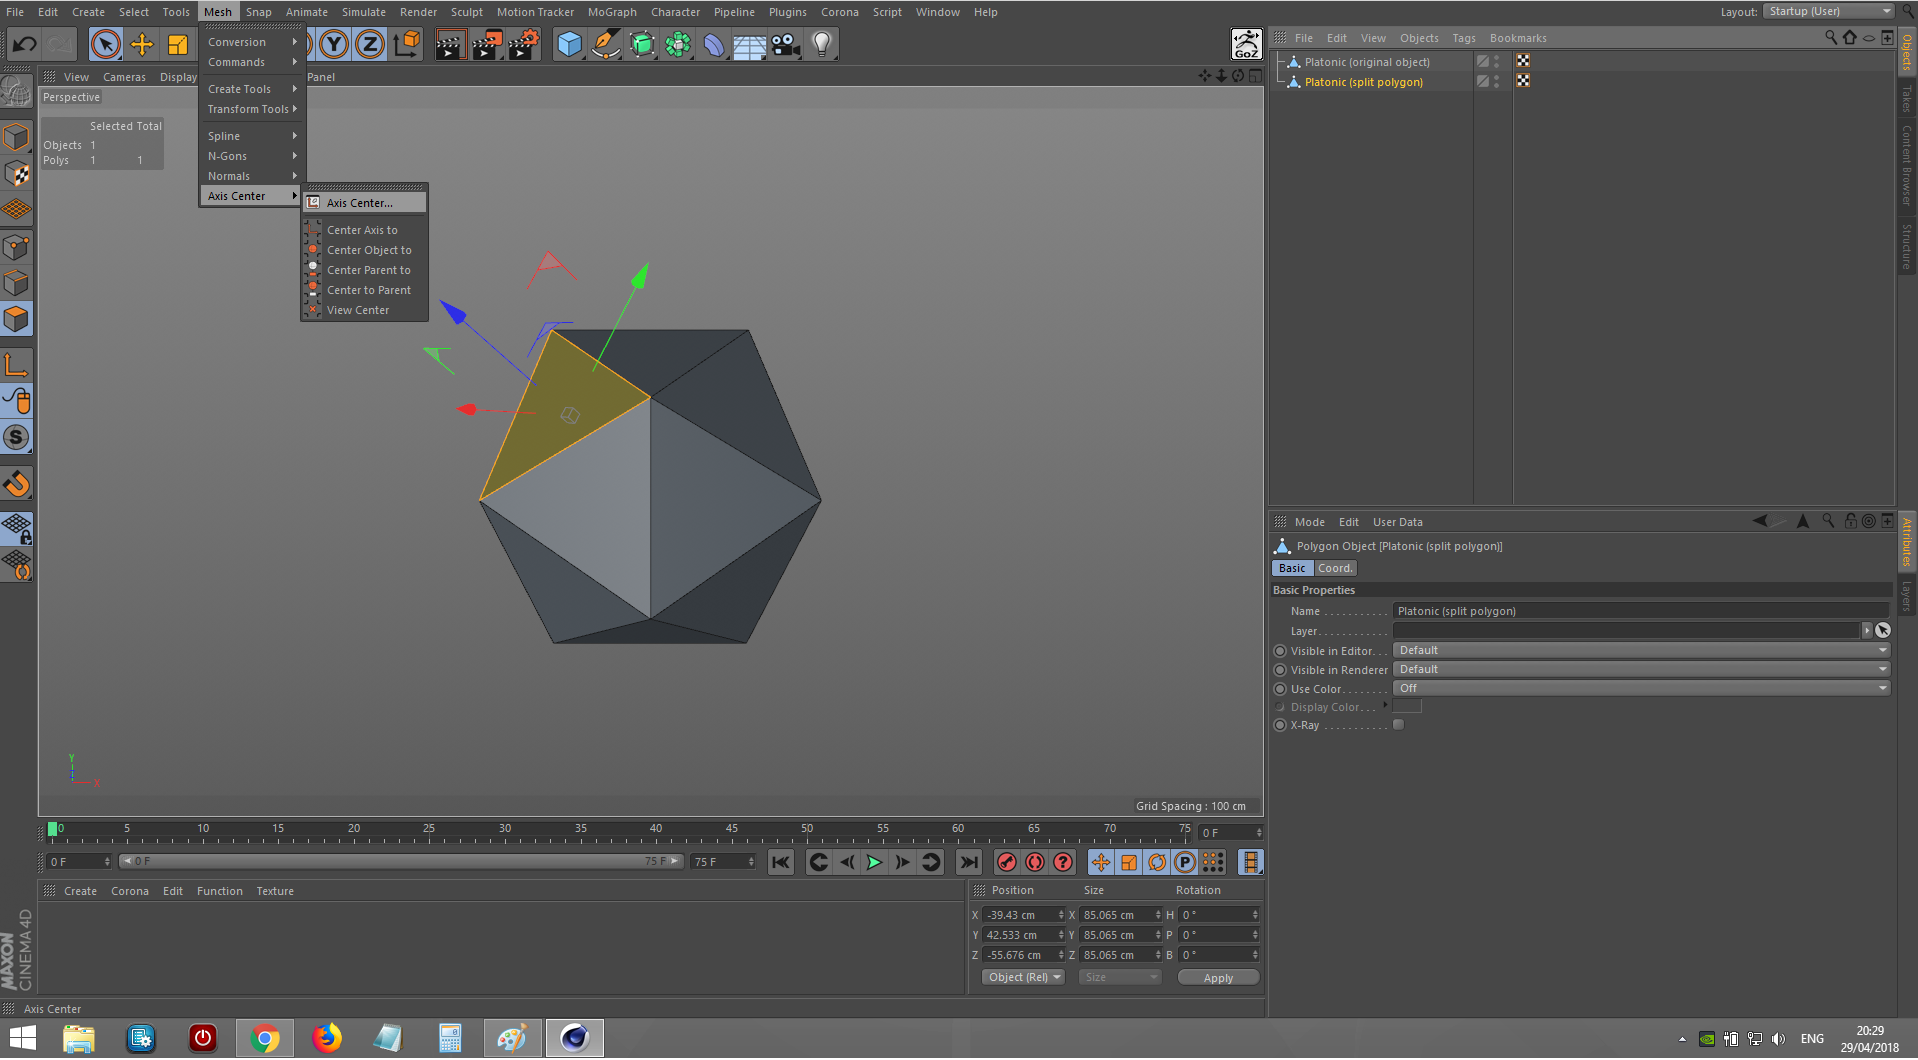
– With the new object that has been created, select the polygon, then go to ‘Mesh > Axis Center > Axis Center…’
Step #4:
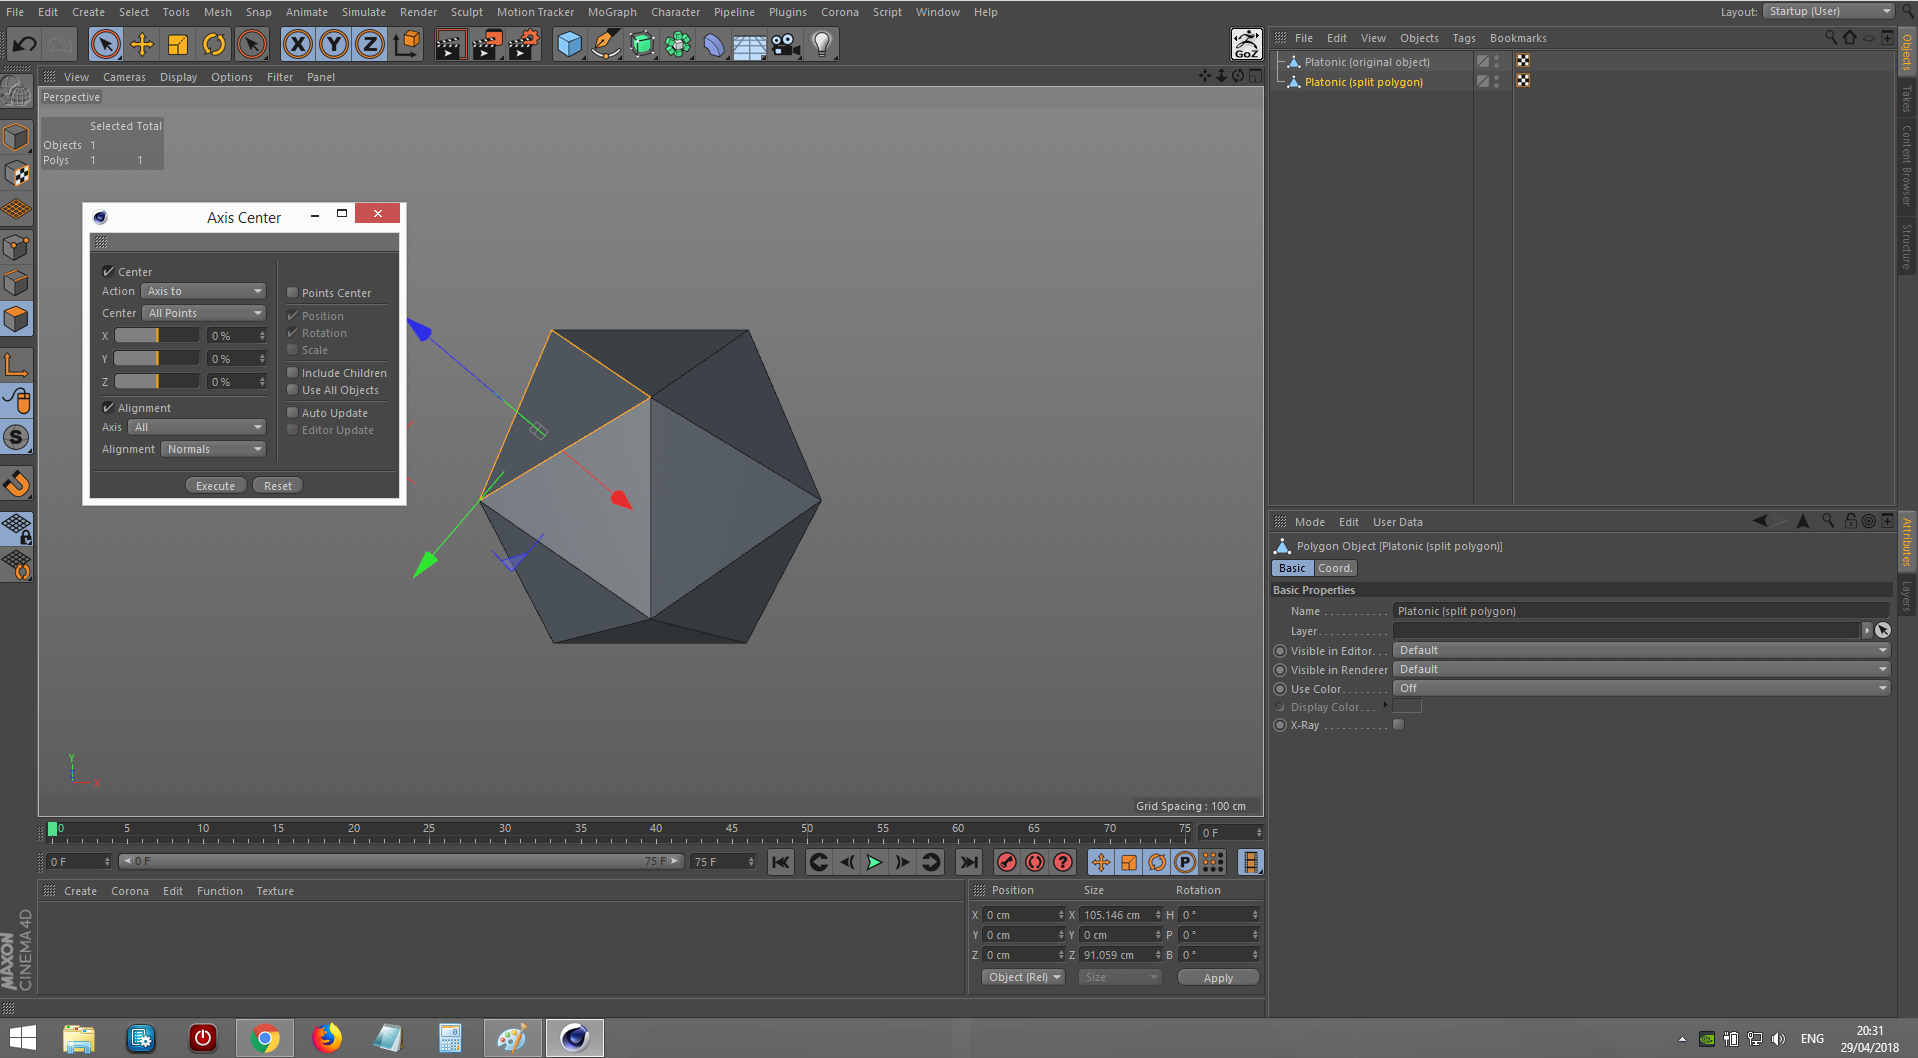
– In the ‘Axis Center’ pop-up window, toggle on ‘Alignment’
– Set ‘Axis’ to ‘All’
– Set ‘Alignment’ to ‘Normals’
– Hit ‘Execute’
– Now, when you go out of polygon selection mode and back into the default object selection mode, the axis should face the direction the polygon is facing.
Note: the axis doesn’t like to center properly on 3-point polygons (tris); it should work properly on 4-point polygons (quads) though.
Step #5:
– We can make use of this object’s new orientation, by using it as a parent for other objects and setting all coordination values of the children to ‘0’.
– In my case, I used a cube.
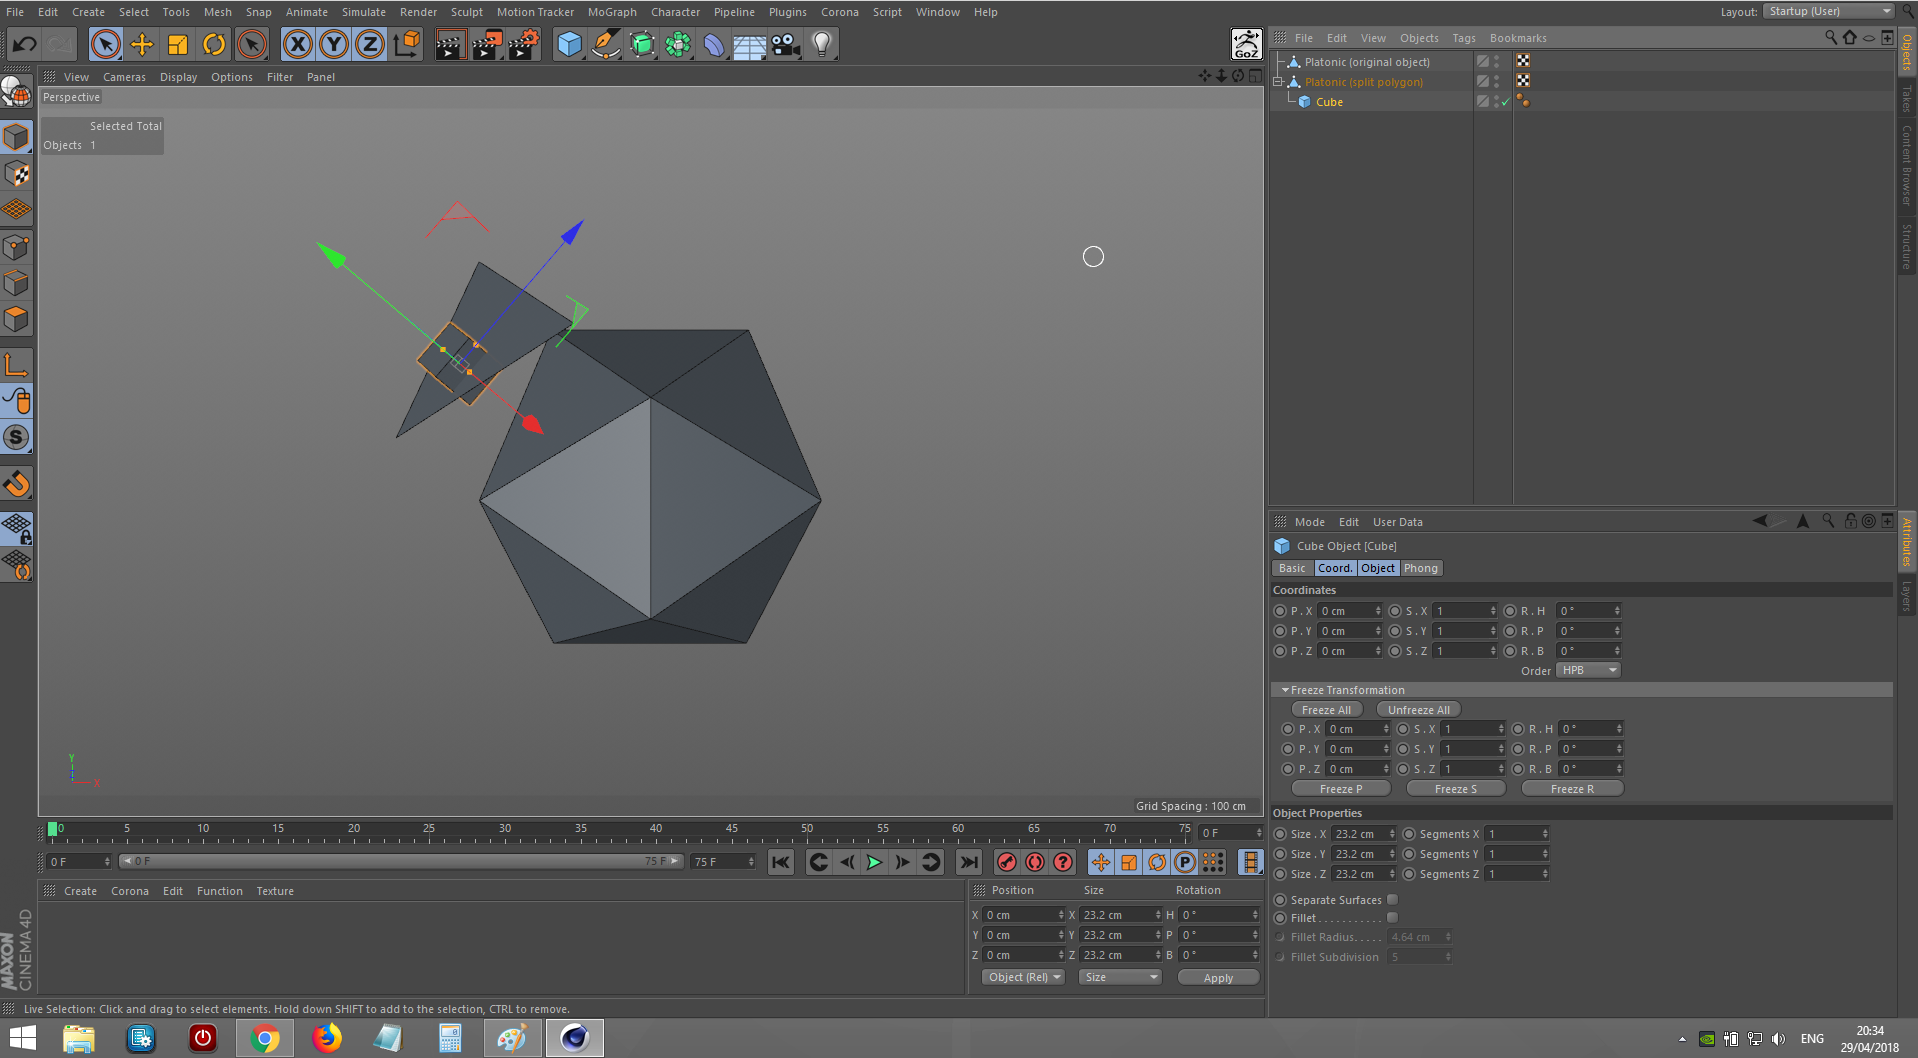
Step #6:
– You can pull the object(s) out of the split polygon’s hierarchy and delete the split polygon object.
– I would recommend freezing the coordinates of the object(s) at this point, so you can cleanly adjust the object’s coordinates relative to it’s new orientation.
– In my case, I pulled the cube out of the hierarchy, deleted the split polygon, and froze it’s coordinates.

…And there we go! Now you know how to split polygons and orient objects to them (if you didn’t already know).
I use this a lot when projecting textures onto a surface, which requires the projection camera to be oriented to the surface it’s projecting onto.
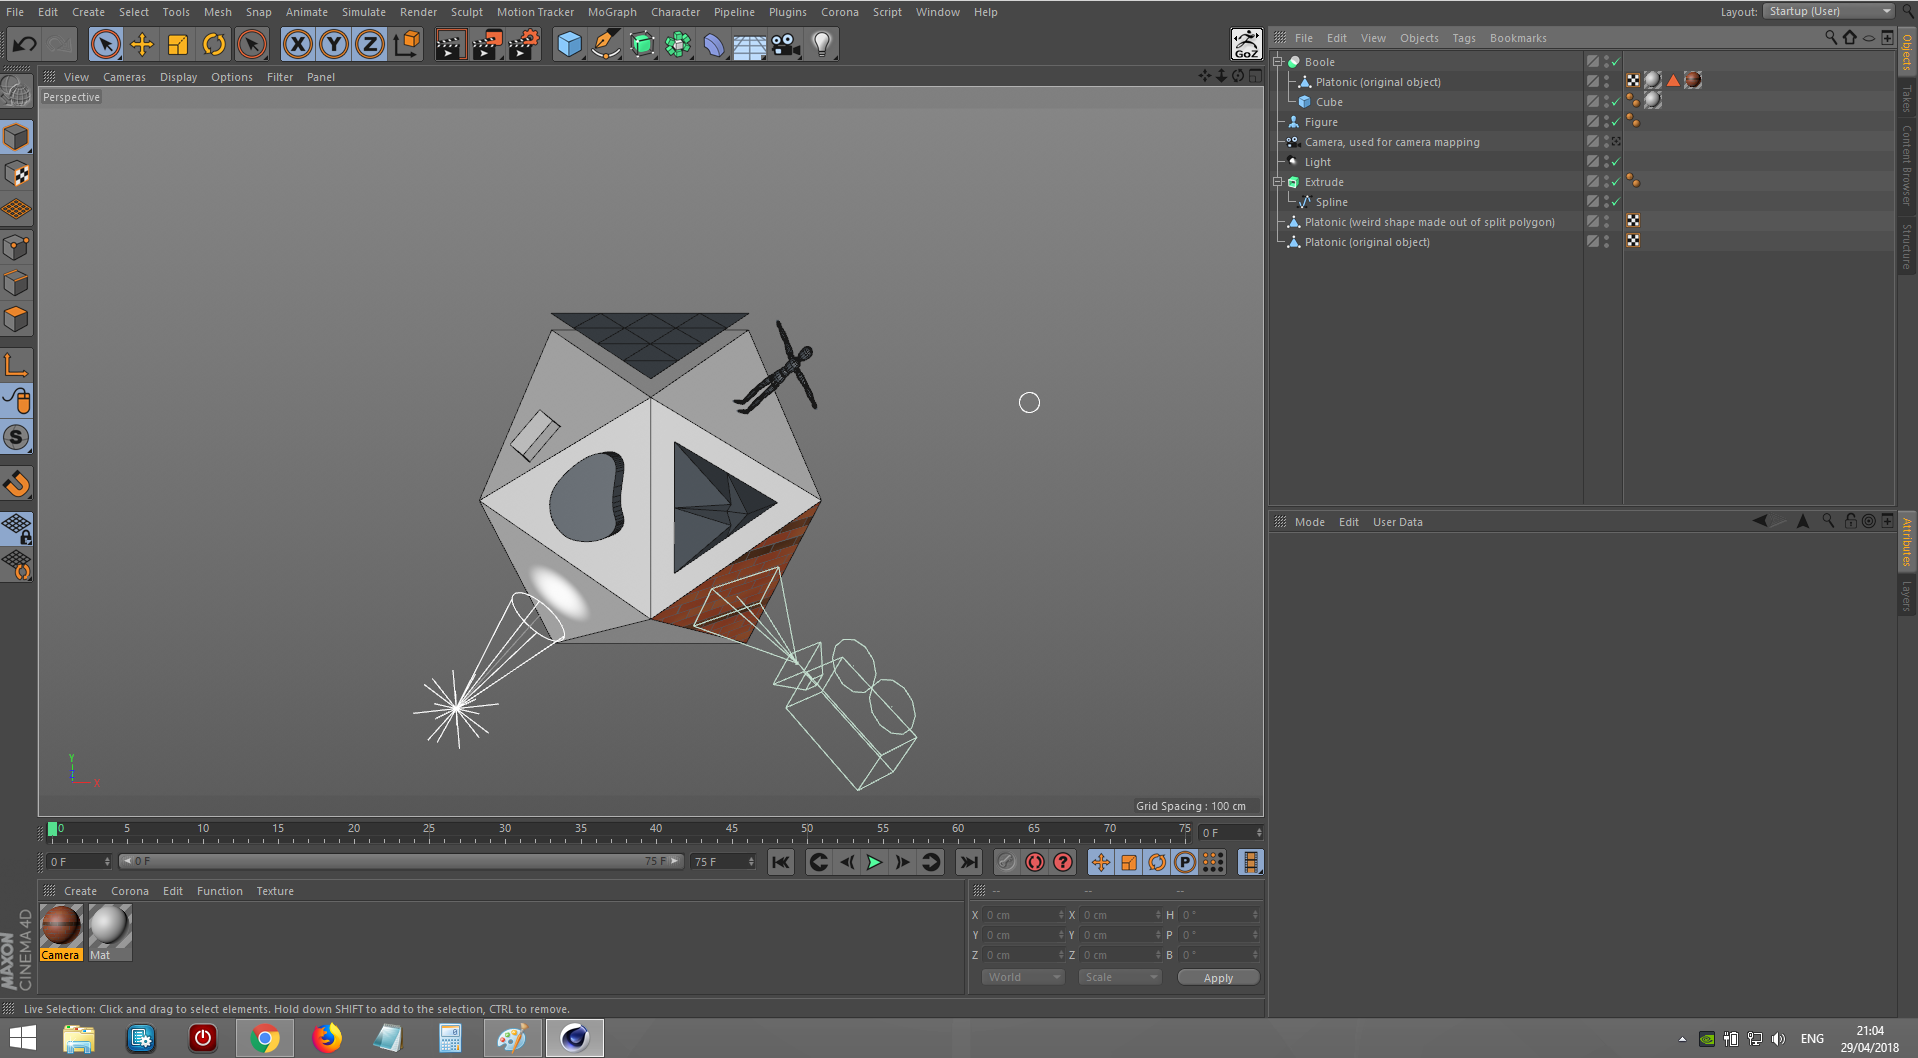
This is something I’ll have to expand on in another article though, otherwise we could be here all day – and I’m sure you have better things to do, such as splitting polygons and orienting objects to them.